
Maintaining asphalt longevity and curb appeal demands more than periodic cleaning. Massachusetts properties face freeze-thaw cycles, humid summers, and deicing salts that accelerate pavement deterioration. Sealcoating forms a protective barrier, extending surface life and reducing repair costs. Understanding the nuances of DIY asphalt sealcoating tips versus professional application empowers property owners to choose the best approach for their driveways and parking lots.
This guide dissects materials, equipment, labor requirements, safety protocols, cost considerations, and performance outcomes. Drawing on industry best practices and regional climate data, it equips homeowners and facility managers with actionable insights. Whether opting for a hands-on project or hiring seasoned sealcoating contractors in Massachusetts, informed decisions yield optimal results.
1. Understanding Sealcoating Materials and Chemistry
Asphalt sealants consist of binders, fillers, and performance enhancers. Key material categories include:
- Coal Tar Sealants: High chemical resistance, ideal for oil-prone areas
- Asphalt Emulsions: Water-based, flexible, and eco-friendly
- Polymer-Modified Binders: Enhanced adhesion, UV stability, and tensile strength
Additives such as anti-oxidants, adhesion promoters, and sand broadcast for skid resistance further tailor performance. Proper binder-aggregate bonding prevents moisture ingress and UV-induced oxidation, core factors in pavement preservation.
2. Equipment Essentials: DIY Kits vs. Commercial Machinery
DIY sealcoating relies on consumer tools; professionals deploy industrial-grade gear:Uniform film thickness and thorough surface prep hinge on robust equipment. Professionals achieve consistent coverage and faster project turnaround, reducing traffic disruption.
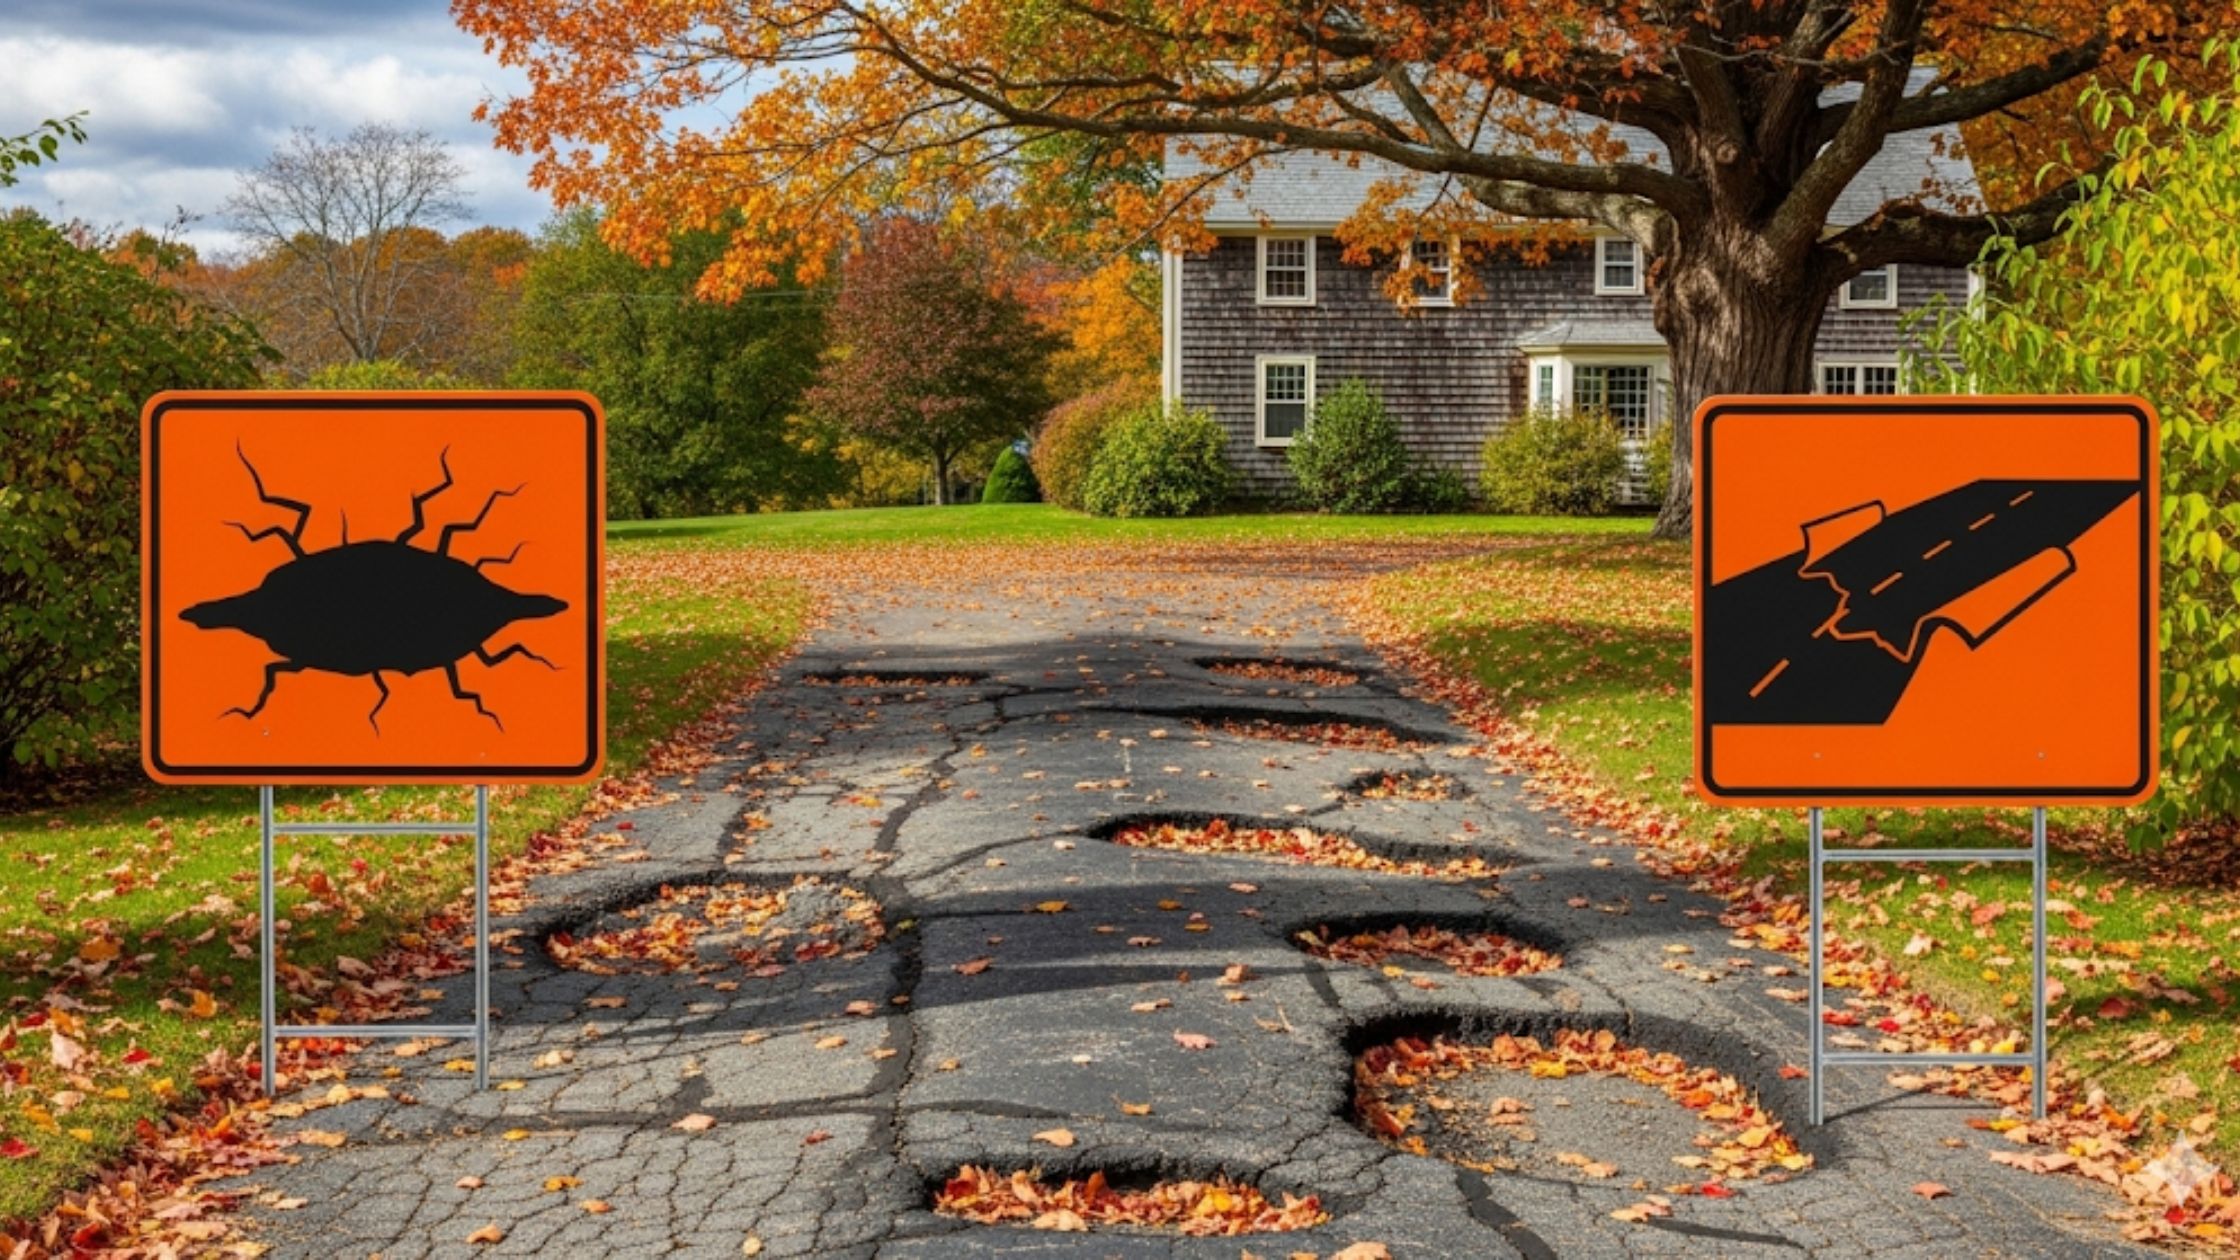
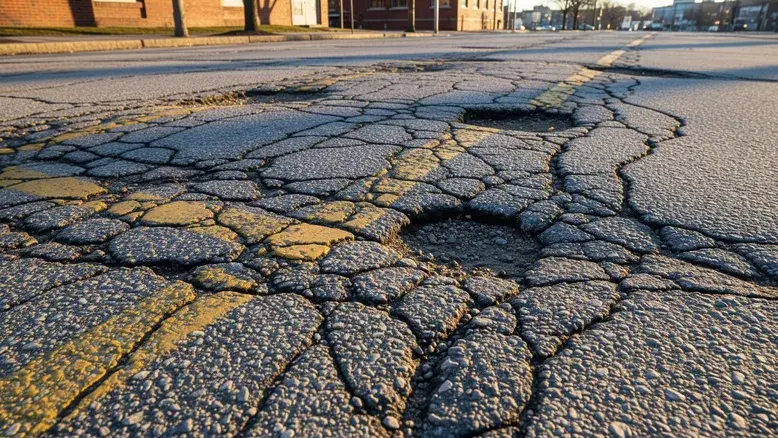
3. Site Preparation: The Foundation of Long-Lasting Sealcoat
Successful sealcoating demands meticulous cleaning and repair:
- Debris Removal Sweep with industrial vacuums or mechanical brooms to eliminate dirt, leaves, and loose aggregate.
- Power Washing Remove oil, grease, mold, and salt residue. Ensure full pavement saturation and drying.
- Crack Sealing and Pothole Patching Use hot or cold asphalt blends and rubberized crack fillers. Proper sealing stops water infiltration and root damage.
- Primer Application (When Required) Apply specialty primers on polished or heavily trafficked zones to improve sealer adhesion.
Thorough prep distinguishes a durable sealcoat from a prematurely failing one. For a deeper dive into professional procedures, property owners can review The Ultimate Guide to Sealcoating in Massachusetts.
4. Labor and Time Investment
DIY projects demand significant homeowner time:
- Surface prep and cleaning: 1–2 days for a 1,000 sq ft driveway
- Sealant mixing and application: 4–6 hours (single coat)
- Curing time: 24–48 hours before light use
Professional crews complete similar tasks in less time:
- Rapid mobilization and multi-member teams
- Simultaneous cleaning, repair, and sealing operations
- Optimized scheduling based on weather forecasts
Time savings translate to convenience and minimized traffic interference.
5. Cost Analysis: Upfront vs. Long-Term Value
Budget considerations often drive the DIY vs. professional decision. Typical Massachusetts pricing per square foot:
- DIY sealcoat kit: $0.05–$0.10 (materials only)
- Professional sealcoating: $0.15–$0.25 (materials and labor)
However, hidden expenses affect ROI:
- Equipment rental fees
- Recoat due to inconsistent application
- Premature sealcoat failure requiring early reapplication
Professional services often include warranties, ensuring long-term savings and lower life-cycle costs. Homeowners seeking trusted expertise frequently turn to seal coating services in Massachusetts for clear estimates and guaranteed results.
6. Weather and Seasonal Constraints
Regional climate impacts application windows:
- Ideal Conditions: 50–85 °F, dry forecast, pavement temperature above 50 °F
- Spring/Early Summer: Best for sealing after frost subsides
- Fall Applications: Complete before first freeze to lock out moisture
- Avoid: Rain in 24 hours post-application, extreme heat above 95 °F
Professionals monitor microclimate data, adjusting schedules to guarantee optimal curing and adhesion.
7. Safety Protocols and Environmental Considerations
Sealcoating involves volatile organic compounds (VOCs) and hot materials:
- DIY users must wear respirators, gloves, eye protection, and coveralls
- Professionals follow OSHA guidelines, spill containment, and proper ventilation
- Environmental compliance includes containment of runoff, use of eco-friendly emulsions, and VOC regulation adherence
Certified contractors carry liability insurance and handle hazardous materials according to state and federal laws.
8. Performance and Durability Outcomes
Consistency in film thickness and adhesion dictates performance:
- DIY Results: Variable thickness, potential for missed spots, and rapid wear
- Professional Results: Uniform 20–30 mil dry film thickness, full void coverage, extended wear resistance
Lab and field studies show professionally applied sealcoats last 2–4 years under moderate traffic, outperforming most DIY applications by 25–50%.
9. Warranty and Quality Assurance
DIY kits rarely include guarantees. In contrast, professional contractors offer:
- Material warranties from manufacturers
- Labor warranties covering defects and premature failure
- Post-job inspections and touch-up services
Reliable contractors stand behind their work, providing documentation and maintenance schedules. To explore why this level of assurance matters, see Why Sealcoating is Essential for Massachusetts Driveways.
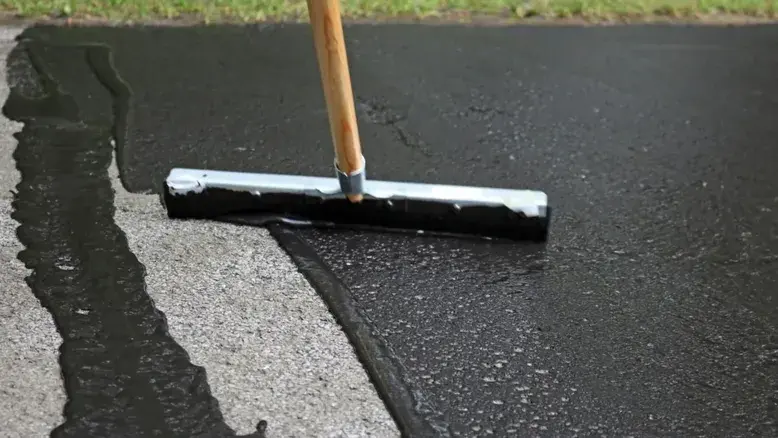
10. Practical DIY Asphalt Sealcoating Tips
For those choosing the DIY route, best practices elevate success rates:
- Prep Thoroughly: Pressure wash and allow 24 hours to dry.
- Repair First: Fill cracks and potholes using hot rubberized sealant.
- Mix Consistently: Stir sealant to uniform texture; avoid pigment separation.
- Apply Evenly: Work in 6 ft-wide sections, maintaining wet film gauges.
- Sweep in Aggregate: Broadcast fine sand immediately for traction and film reinforcement.
Adhering to these protocols minimizes common DIY pitfalls.
11. When to Hire Professional Sealcoating Contractors in Massachusetts
Complex driveways or high-traffic lots warrant expert intervention:
- Multiple temperature-sensitive spots or polished asphalt
- Extensive cracks, alligatoring, or base failures
- Restricted access requiring specialized equipment
- Tight project timelines or commercial liability concerns
Engaging experienced sealcoating contractors in Massachusetts ensures workmanship aligned with regional climatic demands.
12. Integrating Sealcoating into a Long-Term Maintenance Plan
A robust maintenance schedule prolongs pavement integrity:
- Initial Sealcoating: 12–18 months after new asphalt installation
- Biannual Inspections: Spring and fall to catch early distress
- Crack Sealing: Annual as needed to prevent water infiltration
- Sealcoat Reapplication: Every 2–4 years based on wear patterns
- Record Keeping: Log dates, materials, and contractor notes
Documenting each activity simplifies budgeting and timing. For a comprehensive seasonal strategy, review The Ultimate Guide to Sealcoating in Massachusetts.
13. Conclusion
Choosing between DIY asphalt sealcoating tips and professional services hinges on budget, time, technical skill, and long-term value. DIY provides cost savings but requires significant labor and carries performance risks. Professionals deliver guaranteed coverage, superior materials, and lasting results tailored to Massachusetts climates.
Property owners prioritizing durability, warranty protection, and minimal disruption often partner with seasoned experts. For trusted service, advanced equipment, and an unwavering commitment to pavement preservation, The SealCoating Guys stand ready to safeguard investments and enhance curb appeal.
Frequently Asked Questions
1. How long should a DIY sealcoat kit last under residential traffic? Typically 1–2 years, depending on surface prep quality and local weather exposure.
2. Can professionals sealcoat in cooler temperatures? Yes. Specialized cool-weather emulsions enable applications down to low 40 °F pavement temperatures.
3. What safety gear is essential for DIY sealcoating? Respirator mask, chemical-resistant gloves, safety goggles, and protective clothing are mandatory.
4. How soon after sealcoating can vehicles return? Under optimal conditions, light traffic is safe after 24 hours; heavy loads after 48 hours.
5. Are there low-VOC or eco-friendly sealcoating options? Water-based asphalt emulsions and select polymer modifiers reduce VOC emissions and environmental impact.
.webp)

.svg)


